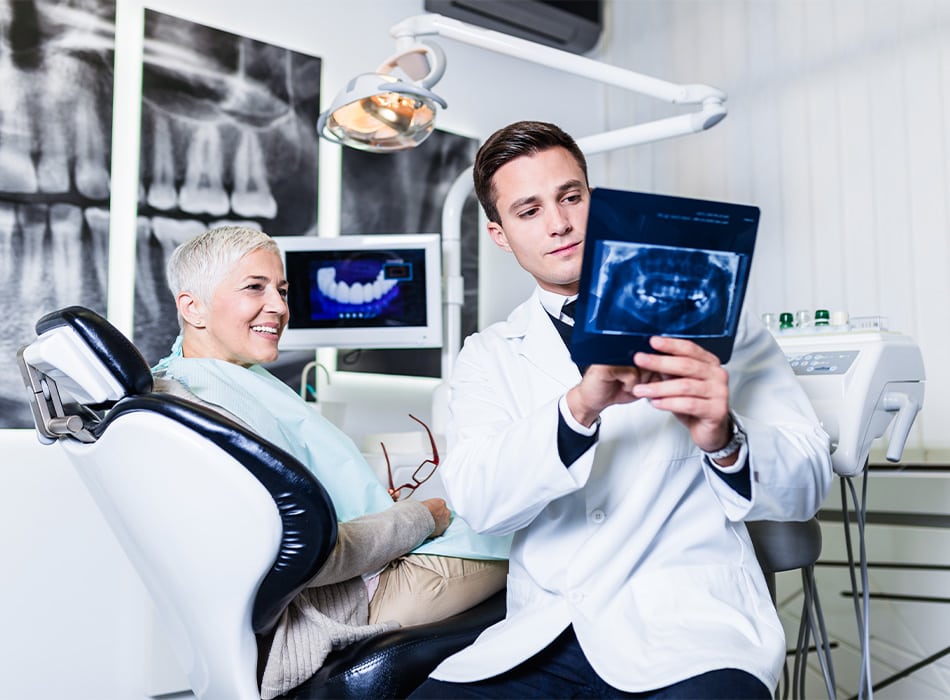
Sie behandeln, wir versorgen Sie zuverlässig und mühelos mit allem, was Sie wirklich brauchen. Nicht mehr, nicht weniger.
23.000
belieferte Praxen weltweit
+ 60%
der deutschen Praxen benutzen Adenta
+ 60
Jahre Erfahrung in der 3. Generation
11,7 Mio.
Zähne wurden in den letzten 5 Jahren mit Adenta bewegt
Adenta entwickelt und produziert, teils auch patentierte Produkte, an unserem Standort in der Nähe von München. Wir vertreiben weltweit kieferorthopädische Medizinprodukte die begeistern und unterstützen sie als Ihr Industriepartner auf Augenhöhe.
Als Kieferorthopäde zu mehr Zeit im Praxisalltag und zufriedeneren Patienten
Als strategischer Partner für kieferorthopädische Praxen versorgen wir Sie jeden Monat mit erstklassigen Produkten. Außerdem helfen wir Ihnen dabei, Ihren Einkauf zu systematisieren, Bestellvorgänge zu vereinfachen und sich so optimal für die Zukunft aufzustellen.
Wir antworten wir i.d.R. innerhalb von 24-48 Stunden.
Typische Herausforderungen, die jeder Kieferorthopäde kennt
Unnötiger Zeitverlust
Als wäre der Zeitplan im Praxisalltag nicht schon eng genug getaktet, investieren Sie oder Ihre Mitarbeiter jede Woche mehrere Stunden in das Vergleichen von Preisen, das Kontrollieren von Lieferscheinen und das Bezahlen von Rechnungen bei Dutzend verschiedenen Lieferanten.
Keine klare Struktur
Die manuelle Kontrolle des Warenbestands und die Zettelwirtschaft bei den Bestellungen führt oft zum Verlust der Übersicht und im schlimmsten Fall zu fehlenden Produkten, die dann sogar Terminabsagen nach sich ziehen.
Preisnachlass nur bei Großbestellungen
Bei vielen Ihrer derzeitigen Lieferanten erhalten Sie aktuell größere Rabatte nur bei hohen Bestellmengen. Dadurch müssen Sie zum einen hohe Lagerkapazitäten bereithalten und gleichzeitig viel Kapital dafür aufwenden.
Was Kieferorthopäden im Jahr 2022 wirklich brauchen
Übersicht
Im Idealfall haben Sie eine glasklare Übersicht über alle Produkte und können auf Knopfdruck Ihren Lagerbestand und aktuelle Lieferzeiten einsehen.
Sicherheit
Um optimal wachsen zu können, brauchen Sie Sicherheit, Kontrolle und Planbarkeit. Dafür muss Ihr Einkauf optimal organisiert und Produkte jederzeit verfügbar sein.
Kompetenz
Statt eines reinen Verkäufers brauchen Sie einen kompetenten Ansprechpartner, der die Branche kennt, Ihnen auf Augenhöhe begegnet und Lösungen für Ihre Probleme anbieten kann.
Ergebnisse aus der Praxis
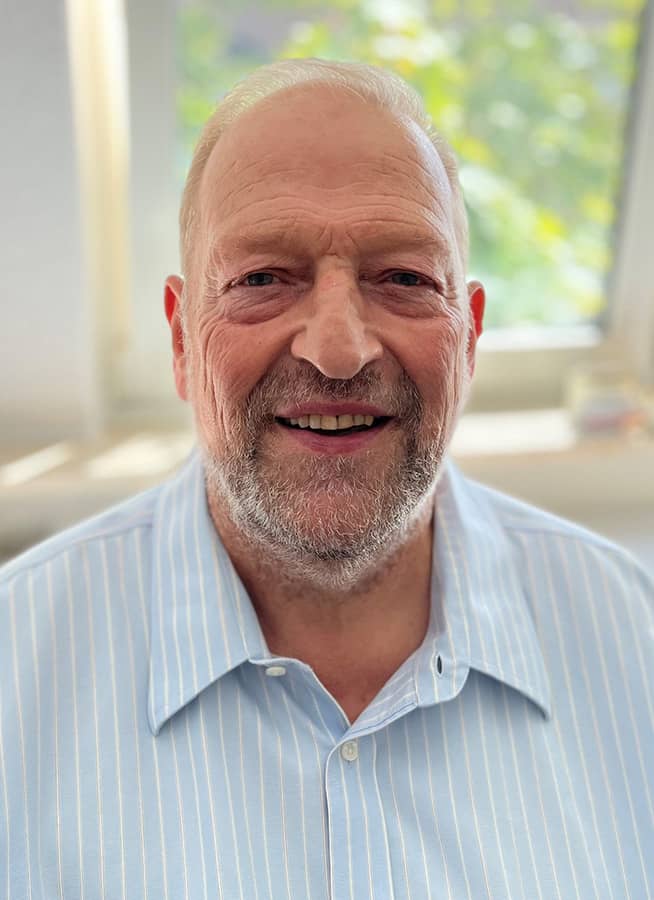
Dr. Hatto Loidl, Berlin
„Bei Adenta bin ich nicht nur eine Nummer. Es gibt hier für alles immer eine Lösung.“
Fallstudie 1
Einfacher und schneller Bestellvorgang von hochwertigen Produkten
Ausgangssituation
Aufgrund seines Einsatzes bei der Berliner politischen und kulturellen Gesellschaft stand für Dr. Loidl die Herkunft seiner Produkte als „Made in Germany“ im Vordergrund. Zudem sollte der Partner über ausreichend Fachkenntnisse zur Umsetzung neuer Produktideen verfügen und in der Lage sein, alle Bestellvorgänge am internationalen Markt so einfach wie möglich zu bedienen.
Ergebnis
Die Lieferung der qualitativ hochwertigen Produkte “Made in Germany” läuft heute schnell und ohne Probleme, da jede Mitarbeiterin per WhatsApp Bestellungen tätigen oder stornieren kann. Auf dieser Basis hat die Praxis absolute Sicherheit und Planbarkeit hinsichtlich des gesamten Materialwesens.
Fallstudie 2
98 %-ige Lieferfähigkeit und mehr Sicherheit durch ein automatisiertes Bestellsystem
Ausgangssituation
Bereits seit Beginn seiner Tätigkeit hatte Dr. Uecker immer das Ziel, den gesamten Einkauf effizient und mit hoher Produktzuverlässigkeit abzuwickeln. Ein Hauptlieferant, der moderne Materialien in reinen Chargen liefert und dabei alle individuellen Anforderungen erfüllt, hatte dabei oberste Priorität.
Ergebnis
Mit der Traumquote von 98% Lieferfähigkeit spart sich die Praxis im Prinzip jede Art der Lagerverwaltung und kann somit das gesamte Personal für die 7 Behandlungseinheiten einsetzen, ohne irgendwelche Reibungsverluste im Bestellwesen.
Dr. Michael Uecker, München
„Adenta denkt mit und passt die Produkte und Lieferprozesse genau an meine Praxisbedürfnisse an. Und das auch noch höchst zuverlässig, was heute keine Selbstverständlichkeit mehr ist.“
Kieferorthopäde zwei Praxen, Standort München
"Adenta ht das Thema Lieferantenmanagement für uns digitalisiert und automatisiert. Das Thema ist für uns nun ein Selbstläufer."
Fallstudie 3
Mehr personelle Ressourcen durch einen systematisierten Einkauf
Ausgangssituation
An den beiden Standorten der Praxis war jeweils eine hochqualifizierte Helferin mit der Abwicklung des Gesamtvorgangs aus Inventur, Bestellungen, Warenkontrolle und Zahlungsverkehr der zahlreichen Lieferanten beschäftigt und investierte dafür rund 85 % ihrer Arbeitszeit. Damit verbunden war auch die Verantwortung, bei fehlenden und verspäteten Lieferungen zeitnah den benötigten Ersatz zu beschaffen.
Ergebnis
Nach einem individuellen Praxisvergleich konnten wir zunächst die Anzahl der Lieferanten von 32 auf 7 reduzieren und dabei die Preise für eine Vielzahl von Produkten im fünfstelligen Bereich senken. Die beiden Fachkräfte können nun wieder 90 % ihrer Zeit für die Betreuung der Patienten aufwenden und damit produktiv tätig sein. Nur noch 10 % der Arbeitszeit entfallen jetzt auf Rechnungsprüfung sowie Gespräche zur weiteren Optimierung aller Vorgänge.
So läuft eine Zusammenarbeit mit uns ab
Analyse
Wir ermitteln Ihren Ist-Zustand und erarbeiten anhand Ihrer individuellen Bedürfnisse den Weg zu Ihrem angestrebten Ziel.
Strategie
Zusammen legen wir die erforderlichen Schritte fest, die wie ein Uhrwerk ineinandergreifen und Ihre Praxis optimal für die Zukunft aufstellen.
Umsetzung
Auf einer analytisch & strategisch klugen Grundlage setzen wir gemeinsam mit Ihnen eine maßgeschneiderte Einkaufslösung für Sie um. Hierbei orientieren wir uns immer an dem jeweiligen Bedarf Ihrer Praxis.
Betreuung
Als strategischer Partner bleiben wir langfristig an Ihrer Seite und passen Ihren Einkauf perfekt auf Ihre Bedürfnisse an. Damit haben Sie auch bei Liefer-schwierigkeiten die Sicherheit, alle benötigten Materialien rechtzeitig zu erhalten.
Wir antworten wir i.d.R. innerhalb von 24-48 Stunden.
Häufig gestellte Fragen
Aber Sie sind doch selbst Hersteller, wie können Sie uns da neutral beraten?
Es ist richtig, dass wir selbst produzieren, aber bei weitem nicht mit einem so großen Produktspektrum wie andere Firmen. Dadurch bewahren wir unsere Unabhängigkeit, da wir unsere Produkte für die Marktführer herstellen und so in jedem Fall vom Verkauf profitieren. Durch diese Ungebundenheit können wir unseren Kunden die größtmögliche Transparenz bieten.
Habe ich dann die gleichen Einkaufskonditionen, wie ich sie jetzt auch bei den einzelnen Herstellern habe?
In der Regel können Sie durch den Einkauf direkt über unsere Firma Geld sparen, da wir als eine Art Einkaufsgemeinschaft große Margen bestellen können und somit deutlich bessere Konditionen erhalten. Sollten Sie das gleiche Produkt in gleicher Qualität woanders günstiger kaufen können, so können Sie selbstverständlich auch dort Ihren Einkauf tätigen.
Muss ich viel Zeit dafür investieren?
Nein, da wir unsere Beratung an Ihren Bedarf und Ihren Zeitplan anpassen, in der Regel über ein Telefonat oder einen Videocall die Produkte kurz vorstellen und Ihre Fragen beantworten können. Ihre Bedürfnisse werden also schnell und zu Ihrer vollsten Zufriedenheit gelöst, was Ihnen eine enorme Zeitersparnis bringt.
Zielt denn Eure Beratung nicht nur darauf ab, dass ich am Ende bei Euch kaufe?
Nein, wir haben nicht den schnellen Profit im Auge, sondern eine langfristige Partnerschaft. Daher passen wir unsere Beratung, die auf jahrelanger Erfahrung beruht, an den tatsächlichen Bedarf Ihrer Praxis an und empfehlen Ihnen die Produkte, die Ihnen wirklich weiterhelfen und deren Preis-Leistungs-Verhältnis stimmt. Unabhängig davon, ob wir oder eine andere Firma der Produzent ist.
Was unterscheidet ADENTA denn von einem normalen Dentaldepot?
Ein Depot ist nur ein Lieferant, der seine Waren verkaufen will. Wir dagegen sind ein Partner auf Augenhöhe, der Ihre Praxis aus klinischer und unternehmerischer Sicht begleitet. Wir kennen die fachlichen Probleme und wissen, welche Produkte Sinn ergeben und Ihre Praxis voranbringen. Dabei legen wir großen Wert auf unkomplizierte und schnelle Bestell- und Beratungswege und können auch Sonderlieferungen oder Sonderverpackungen anbieten.
Muss ich dann alle meine Lieferanten tauschen oder neue Hersteller aufnehmen?
Nein, das ist grundsätzlich nicht nötig. Wir helfen Ihnen, Ihre Prozesse zu vereinfachen und die Bestellungen kombiniert durchzuführen, was Ihnen hohe Personalkosten erspart. Dennoch bleiben Sie immer derjenige, der die Entscheidungen trifft. Daher können Sie selbstverständlich auch weiterhin Ihre Markenprodukte beziehen oder Teile Ihrer Bestellungen von anderen Anbietern direkt einkaufen.
Sie haben noch offene Fragen? Sehr gerne können Sie hier auch jederzeit eine persönliche, kostenlose Beratung anfragen.
FAQ
Häufig gestellte Fragen
Hier finden Sie Antworten auf einige der am häufigsten gestellten Fragen. Wenn Sie nicht finden, was Sie suchen, können Sie uns gerne kontaktieren.
Rufen Sie uns an
Rufen Sie uns gerne von Montag bis Freitag, zwischen 08:00 - 17:00 Uhr unter der +49 8105-73436-0 an.
Schreiben Sie uns eine Nachricht
Schreiben Sie uns Ihre Frage an hallo@adenta.com. Wir werden uns dann schnellstmöglich mit einer Antwort bei Ihnen zurückmelden.
Lassen Sie sich kostenlos beraten
Ist Ihre Frage ein spezifischer Fall? Dann nutzen Sie unsere kostenlose Erstberatung. In der Beratung nehmen wir uns Zeit für Sie, eine Lösung für Ihre Herausforderung zu finden.
Aber Sie sind doch selbst Hersteller, wie können Sie uns da neutral beraten?
Es ist richtig, dass wir selbst produzieren, aber bei weitem nicht mit einem so großen Produktspektrum wie andere Firmen. Dadurch bewahren wir unsere Unabhängigkeit, da wir unsere Produkte für die Marktführer herstellen und so in jedem Fall vom Verkauf profitieren. Durch diese Ungebundenheit können wir unseren Kunden die größtmögliche Transparenz bieten.
Habe ich dann die gleichen Einkaufskonditionen, wie ich sie jetzt auch bei den einzelnen Herstellern habe?
In der Regel können Sie durch den Einkauf direkt über unsere Firma Geld sparen, da wir als eine Art Einkaufsgemeinschaft große Margen bestellen können und somit deutlich bessere Konditionen erhalten. Sollten Sie das gleiche Produkt in gleicher Qualität woanders günstiger kaufen können, so können Sie selbstverständlich auch dort Ihren Einkauf tätigen.
Muss ich viel Zeit dafür investieren?
Nein, da wir unsere Beratung an Ihren Bedarf und Ihren Zeitplan anpassen, in der Regel über ein Telefonat oder einen Videocall die Produkte kurz vorstellen und Ihre Fragen beantworten können. Ihre Bedürfnisse werden also schnell und zu Ihrer vollsten Zufriedenheit gelöst, was Ihnen eine enorme Zeitersparnis bringt.
Zielt denn Eure Beratung nicht nur darauf ab, dass ich am Ende bei Euch kaufe?
Nein, wir haben nicht den schnellen Profit im Auge, sondern eine langfristige Partnerschaft. Daher passen wir unsere Beratung, die auf jahrelanger Erfahrung beruht, an den tatsächlichen Bedarf Ihrer Praxis an und empfehlen Ihnen die Produkte, die Ihnen wirklich weiterhelfen und deren Preis-Leistungs-Verhältnis stimmt. Unabhängig davon, ob wir oder eine andere Firma der Produzent ist.
Was unterscheidet ADENTA denn von einem normalen Dentaldepot?
Ein Depot ist nur ein Lieferant, der seine Waren verkaufen will. Wir dagegen sind ein Partner auf Augenhöhe, der Ihre Praxis aus klinischer und unternehmerischer Sicht begleitet. Wir kennen die fachlichen Probleme und wissen, welche Produkte Sinn ergeben und Ihre Praxis voranbringen. Dabei legen wir großen Wert auf unkomplizierte und schnelle Bestell- und Beratungswege und können auch Sonderlieferungen oder Sonderverpackungen anbieten.
Muss ich dann alle meine Lieferanten tauschen oder neue Hersteller aufnehmen?
Nein, das ist grundsätzlich nicht nötig. Wir helfen Ihnen, Ihre Prozesse zu vereinfachen und die Bestellungen kombiniert durchzuführen, was Ihnen hohe Personalkosten erspart. Dennoch bleiben Sie immer derjenige, der die Entscheidungen trifft. Daher können Sie selbstverständlich auch weiterhin Ihre Markenprodukte beziehen oder Teile Ihrer Bestellungen von anderen Anbietern direkt einkaufen.
Was passiert in der kostenlosen Beratung?
01
Strategie
Wir analysieren Ihre Situation und legen gemeinsam die nötigen Schritte zum von Ihnen angestrebten Ergebnis fest. Dabei haben wir stets die Alleinstellungsmerkmale Ihrer Praxis im Blick.
02
Beratung
Ein erfahrener Experte gibt Ihnen eine professionelle Beratung und bereits erste wichtige Tipps. Auch wenn es zu keiner Zusammenarbeit kommen sollte, hilft Ihnen dieses Gespräch schon ein gutes Stück weiter.
03
Klarheit
Außerdem beantworten wir Ihnen all Ihre offenen Fragen. Nach unserem Gespräch haben Sie absolute Klarheit über Ihre Situation und wie Sie sich als kieferorthopädische Praxis optimal aufstellen können.
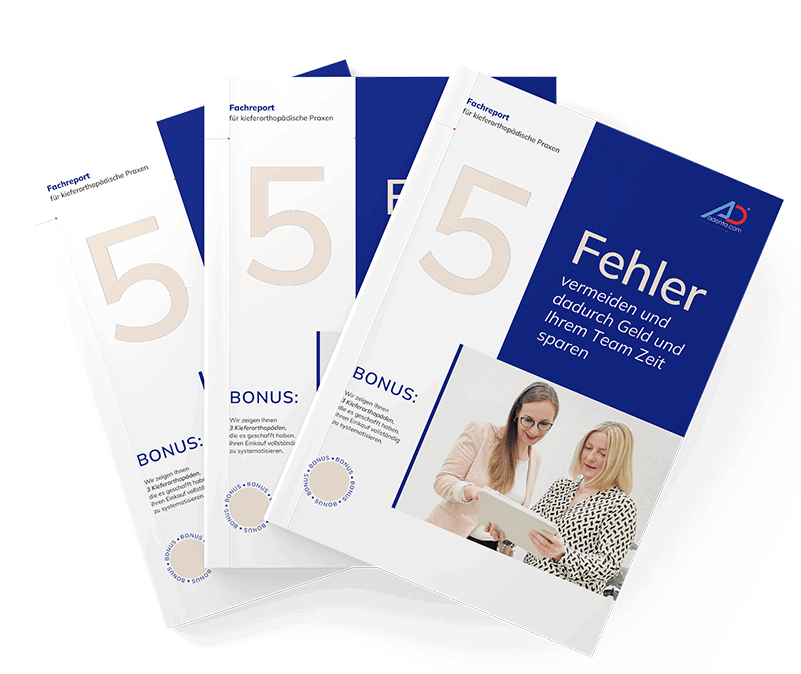
Lassen Sie sich jetzt unseren kostenlosen Fachreport nach Hause senden
Wollen Sie wissen, welche 5 Fehler Sie derzeit bei Ihrem Einkauf machen und wie sich diese vermeiden lassen? Dann fordern Sie jetzt unseren kostenlosen Fachreport zu diesem Thema an. Gerne senden wir Ihnen ein Exemplar kostenlos zu!
Adenta® ist weltweit der Lieferant von mehr als 23.000 Praxen und beliefert bereits über 60 % der deutschen Praxen. Wir verstehen uns dabei nicht als irgendein Lieferant, sondern als beratender Partner an Ihrer Seite. Unser kompetentes Team kennt den Weg zu einem systematisierten Einkauf aus jahrelanger Erfahrung. Daher wissen wir auch die Antworten auf alle aufkommenden Fragen und Probleme. Wir sehen unsere Mission darin, Ihnen den Weg vom Kieferorthopäden zum Gesundheitsunternehmer zu zeigen. Also machen wir uns gemeinsam auf den Weg!
Unser Standort
Unser Büro befindet sich in Gilching im schönen Oberbayern zwischen dem Ammersee und dem Starnberger See. Von hier aus betreuen wir kieferorthopädische Praxen in zahlreichen Ländern. Auch wenn aufgrund unserer digitalen Arbeitsweise die Zusammenarbeit kein Vor-Ort-Treffen voraussetzt, freuen wir uns immer über den persönlichen Kontakt mit unseren Kunden. Daher sind Sie jederzeit herzlich bei uns willkommen!
Vereinbaren Sie dazu einfach eine kostenlose und unverbindliche Beratung mit uns. Wir nehmen uns dabei Zeit für Ihre aktuelle Situation, Ihre individuelle Zielsetzung und beantworten in einem offenen Gespräch all Ihre Fragen.